Enable Copilot for VSCode
GitHub Account
In order to access GitHub Copilot, you need to have a GitHub account. Create an account using your university email address. This will give you free access to Copilot.
Go to the GitHub website
Activate Copilot
Once your GitHub account is set up, you need to log into your account in the browser.
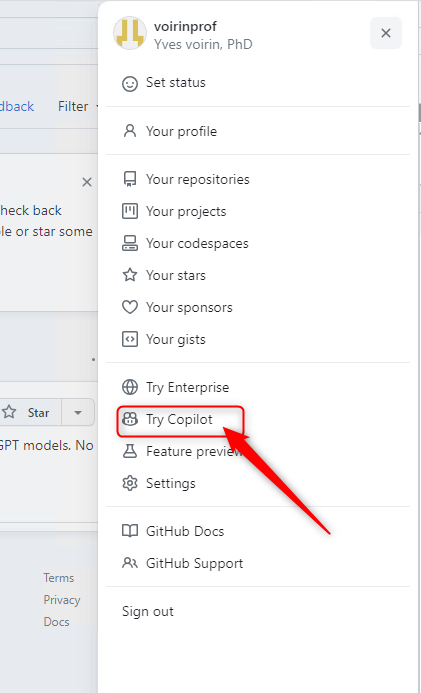
To activate Copilot, go to your profile.

You need to choose Try Copilot.
You should see a message stating that you are eligible for a free version of Copilot since you are a student or a teacher.
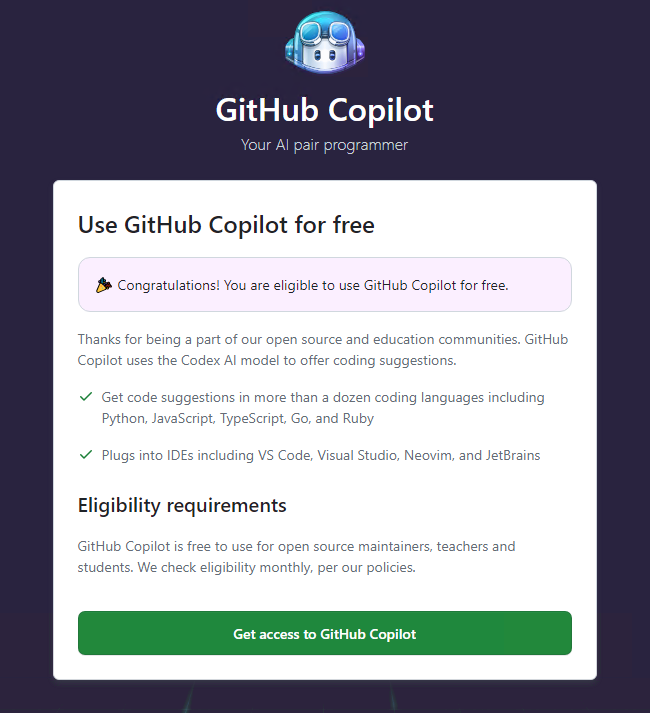
Simply click Get access to GitHub Copilot.
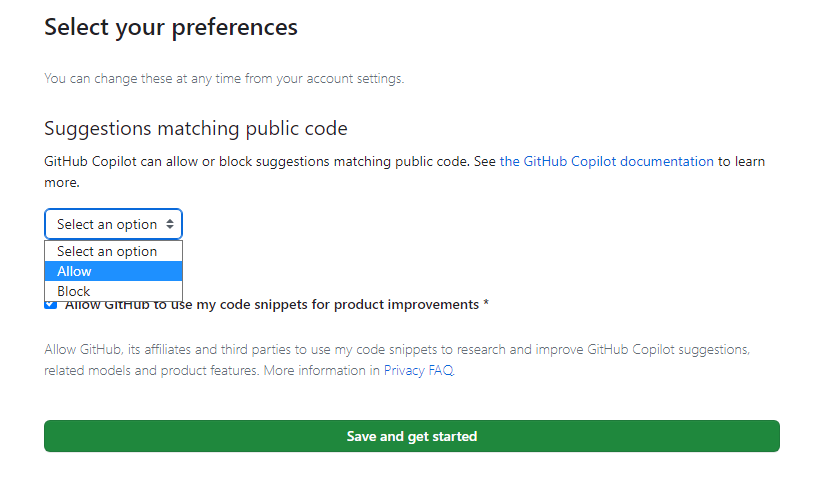
It will ask if you want to include public code in the suggestions and if you agree to have your code used to improve the AI. Make your selection according to your preference.
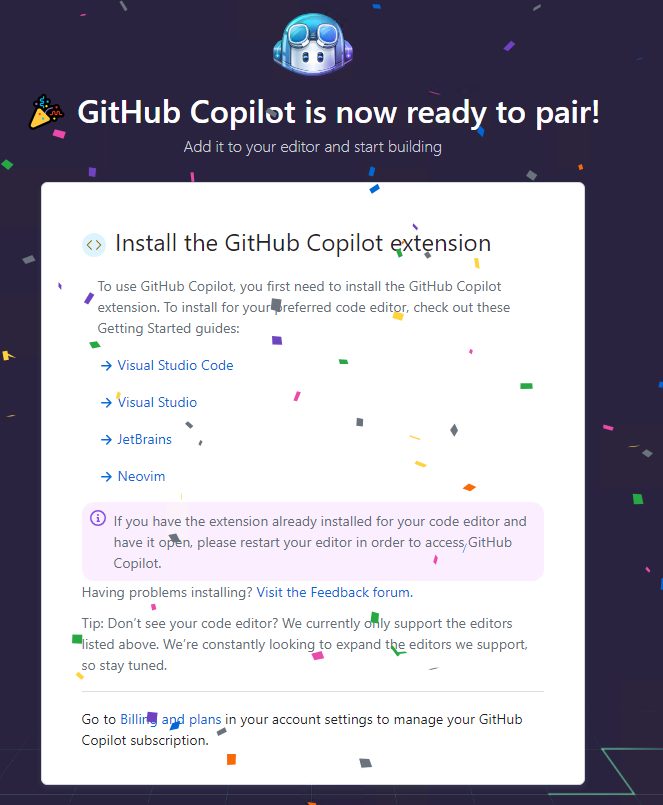
You will receive a message confirming that Copilot is available with your account.
You can now enable Copilot in VS Code. Install the GitHub Copilot extension in VS Code and log in with your GitHub account.
Useful video: Step-by-step explanation